
|
|
#21
 02-01-2013, 08:19 AM
|
|||
|
|||
|
Quote:
__________________
1985 744 gle d24t 1985 745 gle d24t 
|
|
#22
02-05-2013, 09:15 AM
|
|||
|
|||
|
Nope, i do not have an intercooler. Turbo goes straight into the intake manifold.
I think i can lean it out a bit more and ill watch the temp go up. My boost gauge indicates 11psi max boost, which suprised me for such a small turbo. I am also trying to figure out how i can add a bit more fuel at the top end. I have a bit of smoke now, but once the engine is WOT in top gear there is no smoke. I have a HP22 four speed auto transmission and it max's out at 60mph on flat land.
|
|
#23
02-07-2013, 07:06 PM
|
|||
|
|||
|
Quote:
11PSI is factory. (or your gauge isn't that good?) A ball and spring boost controller will spool you up 500 RPM sooner, and I think a 2 stage that is bypassed when not floored would be better for EGT and economy. It helped a lot on my car, but maybe not as much with the auto. I'd turn up the max fuel screw till you can hit at least 1200 on a long grade, and your top speed may go up quite a bit. What is your RPM at that speed? If you back the set screw on top of the boost compensator(which limits off boost fueling) out some, you will get more throw out of the mechanism (and possibly have to bump your low idle screw up)(I have seen one stick, and not deliver boost enrichment after the pump sat a long time). Behind the plug under the boost reference line is the star wheel which preloads the spring manifold pressure has to overcome. Spin it in a few clicks makes it easier to fuel up as the boost comes on. Tight spring = puff of black when you floor it, fading as boost catches up Loose spring = black smoke on boost. Not enough max fuel = no smoke ever(well, at least turn it up till you have some smoke, then back it off just enough for your taste/EGT).
|
|
#24
02-10-2013, 09:37 AM
|
|||
|
|||
|
I adjusted the main fuel screw with the anaroid/LDA disconnected until there was just a wisp of smoke. Turning this down a bit raised my EGT to 1100f. Then i connected the LDA. I backed the top screw out(so far i lost it, anyone know the thread size?) so there is not off boost extra fuel. I rotated the plunger/rod for minimum fuel. Then i adjusted the spring underneath so the additional fuel kick in at the right time. This resulted in the star wheel being up most of the way...i compress the spring when i put the top on the LDA. Then i rotated the diaphram for a little more fuel when on bost.
This is the best i have ever had it running. I can accelerate up hills now, but not like my STI of course. I have new VDO boost and EGT gauges. The peek boost now is right around 10psi, which suprises me for such a tiny turbo. Where i am at now, this seems to be the most power i can extract with little smoke. Remember, i am in Denver and go up from here. Also the Pinz is about 7000 pounds. This all sound abut right? If so, i suspect my two options for more power are a bigger turbo(i have the fuel capacity) and/or a custom grind cam shaft. Thanks for all the info so far gents, i wouldnt be this far along without your assistance! We need a dancing bannana emoticon..the Ford Raptor forum has them and my buddies are giving me grief. (Dancing bananna goes here)
|
|
#25
02-10-2013, 02:01 PM
|
|||
|
|||
|
You can run more boost, but will probably want an intercooler or meth injection pretty soon.Some folks run 20 PSI on the stock turbo, I found my car felt noticeably perkier even at 15. Over 12 or so, you have to block or wedge shut the emegency overboost protector BOV looking thing on the manifold if your rig is so equipped. VW had them on early TD's but didn't bother on later ones as it isn't useful.
I seemed to do well with a soft setting on the spring, but I have lots of air at sea level.
|
|
#26
02-18-2013, 12:48 PM
|
|||
|
|||
|
Quote:
 Stock boost w/o intercooler is right about 10, actually a tick less on most of them I have measured, so you're right on there. The intercooled motors run more, 12.5 pounds stock I think on the exact same turbo just with the compressor housing clocked the other way -- but the only way they can get away with that and get as much of a power bump as they do from it is because of the intercooler. One thing, though, is that when tuning for high altitude, from the perspective of the motor's survival (i.e. absolute manifold pressure) you can really raise the boost considerably, since w/o electronic engine management your wastegate is only working against relative pressure vs the atmosphere so the actual amount of oxygen entering the motor for a given static boost setting is less at higher altitude than it is at sea level or 5280'. In other words, you need a higher pressure differential vs atmospheric at altitude to cram the same amt of O2 into the motor that you do at the stock boost setting at sea level, thus correspondingly running an appropriately elevated boost setting at higher altitude could give you enough air to make the motor perform like it should with a stock boost level at low altitude, except... The catch to keep in mind with this is that while you can turn up the boost to achieve that oxygen mass compensation at altitude, it will come with a lot more heat than the same absolute pressure (i.e. O2 quantity) would at sea level with a lower pressure differential, due to having to spin the turbo much faster to achieve it -- so an intercooler becomes necessary in order to reap much benefit from it, or water/methanol injection, as 745TG suggested. With a stock turbo at high altitude, making one of these really fly is very tough due to the issue of charge air heat generation, and with a larger turbo at altitude boost lag could become unbearable - an unfortunate catch-22 that probably only a well-managed VNT arrangement could fully resolve... However, with a stock turbo adding an intercooler, combined with slightly elevated boost levels, should make it able to perform roughly as well as it does, stock, at sea level most of the time. My theoretical assessment anyway -- hoping to have a chance to put the theory to the test with mine at some point here, it does fine driving around in Denver traffic, but I am still having trouble getting used to the difference in power with it when climbing hills... ") Were you maxing out at 60 on the flat in top gear in the trans, or in 3rd? I've had both my MT and AT TD Volvos up here at Denver altitude and above on multiple occasions and generally find the automatic to be an advantage in getting the vehicle rolling since the converter helps build boost faster, but the one disadvantage is that when climbing hills or fighting a headwind, the ZF's torque converter lockup in top gear oftentimes comes right at the point in the rev band where it drops the engine speed down to where it can't quite pull anymore and hobbles the thing. Your rig is probably geared much lower overall than a Volvo car but depending on where your shift and lockup points are, there could still be more to be gained by playing with the trans kickdown cable some... We'll work on getting the banana loaded in. 
Last edited by v8volvo; 02-18-2013 at 12:56 PM. Reason: redundant info
|
|
#27
03-03-2013, 12:47 PM
|
|||
|
|||
|
Got to work on one of these yesterday and found it an interesting struggle. The one I was dealing with had a manual trans in it, and I was not able to find any viewing window into the bellhousing to look at a TDC mark on the flywheel. It had had an IP put on it some time ago and the guy who did it got the timing off enough that it would not run. I spent a while searching for a timing mark, even pulled the slave cyl inspection cover off and it was looking like I might have to drag the starter out, there's no opening in the BH anywhere. Finally ended up deciding to just time it off the cam going by seat of the pants and got it running OK, but still hoping to have a chance to get a numerical value on it. Unfortunately info seems to be in very short supply for these motors in Pinzgauers, Hecklebone if you have a source for repair manuals for these, I could use the info...
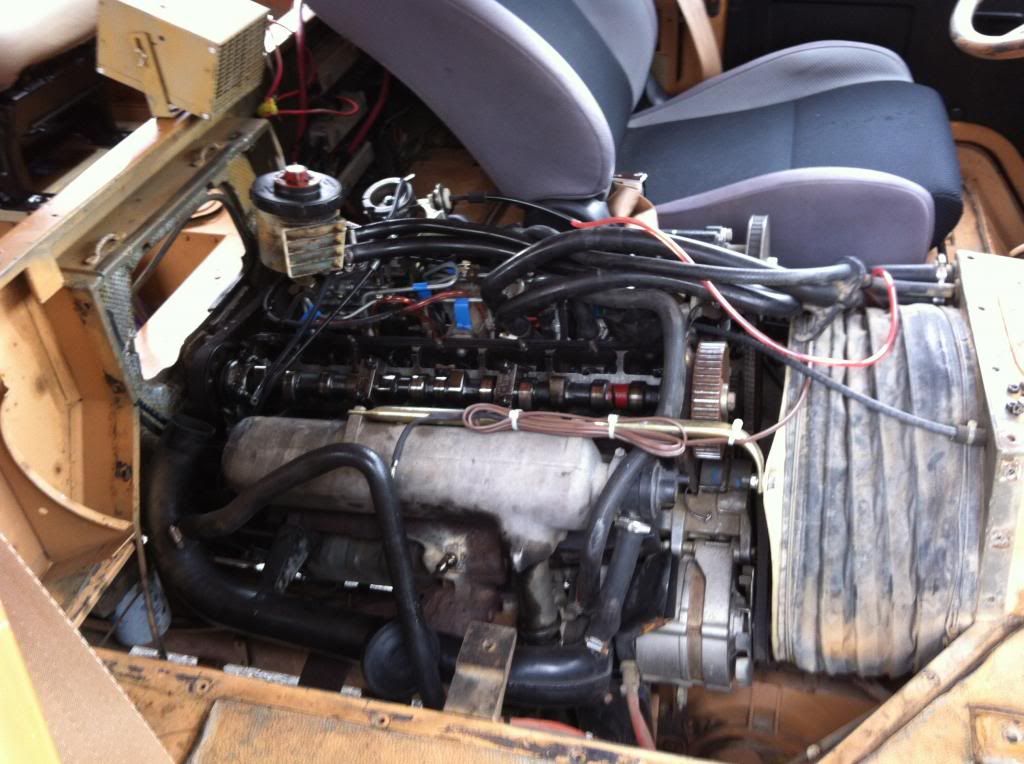
In any case it seems like you're fortunate to have an automatic in yours -- looking at your pictures it looks like your setup is much easier to work on. BTW, quite a rig overall, looking at the underside of it, it is pretty clear that they don't share any genes with normal passenger vehicles....  
|
|
#28
03-16-2013, 12:37 PM
|
|||
|
|||
|
Today i was able to remove a seat, the cowling and the rocker cover. Look what i found inside.
 Break number one: 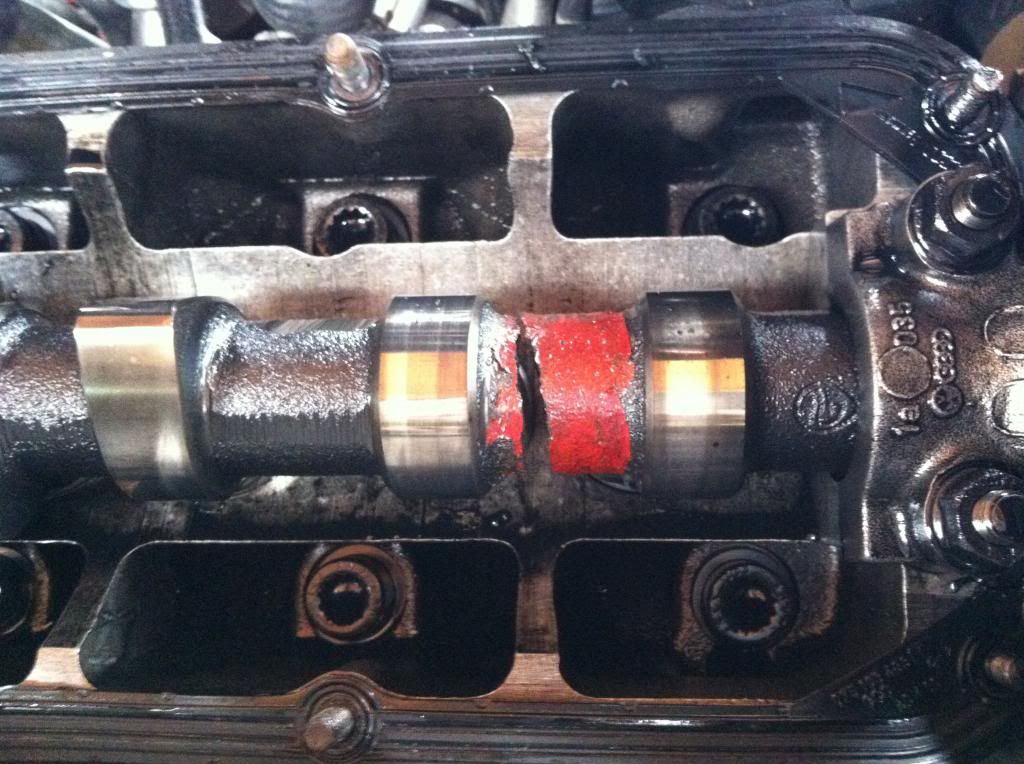 Break number two!  Curious what the valves and pistons look like when i get the head off. Last edited by Hecklebone; 03-16-2013 at 12:46 PM.
|
|
#29
03-16-2013, 01:14 PM
|
|||
|
|||
|
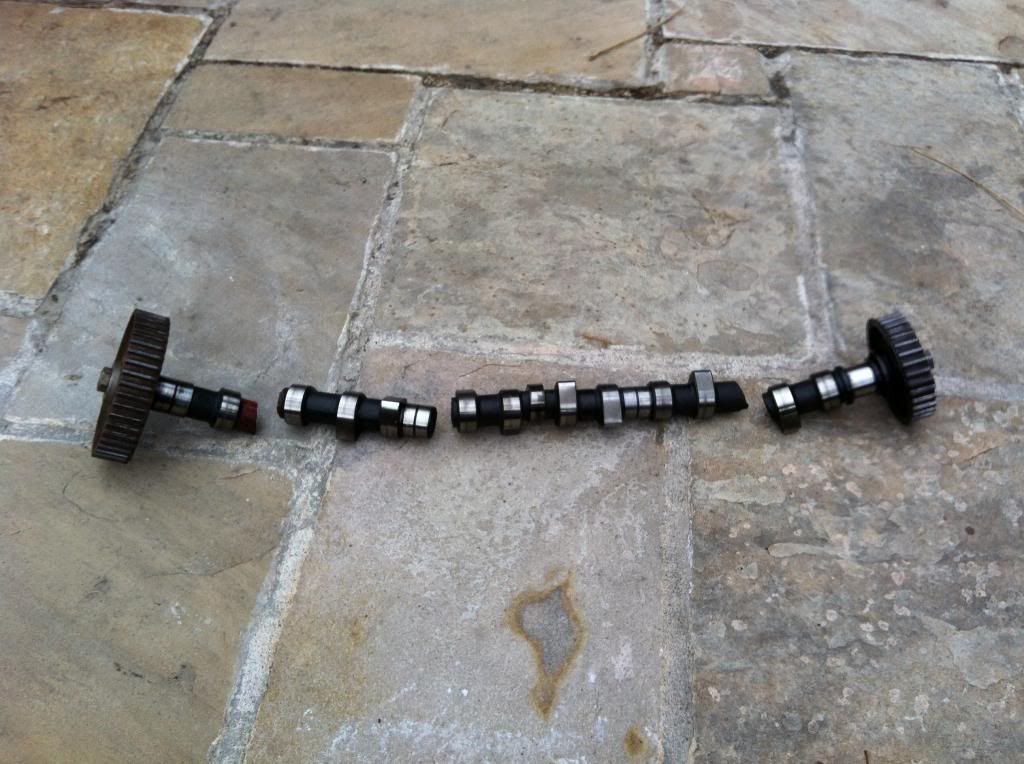
Make that three breaks, four pieces...
|
|
#30
03-16-2013, 04:32 PM
|
|||
|
|||
|
Wow, never seen one that didn't stick at least one piece through the valve cover. Were the cam caps still tight? maybe the head is OK. crushing the lifter cups give the valves some leeway at low speed, though they risk dropping a head into the piston later IMO.
Check the crank nose real close too.
|
 |
|
|


 I will be traveling to Denver in about 3 weeks so if all else fails we can link up and give it a try then...
 Linear Mode

