
 |
|
#1
|
|||
|
|||
|
When I disassembled my engine after over heating and blowing the head gasket, I noticed how restrictive the gasket was. I am experimenting with opening up the one hole/notch MLS gasket to flow more coolant.
In addition to making the existing holes the same size as the head and block, I added the small holes between the bores on the top side. In the stock gasket these are closed, as in the first photo. Here is what i did:
Comparison - Here are photos of an unadulterated gasket under the modified one. You can see there is a huge difference. This modification has opened up the head gasket so that it adds no restriction and has the same opening as the head and block. 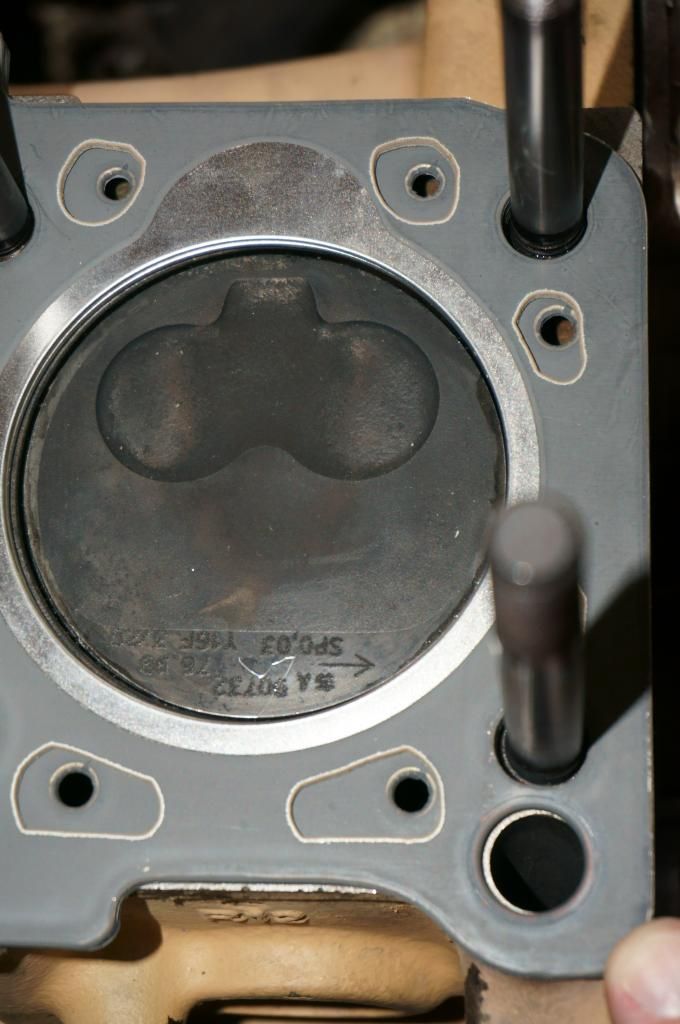 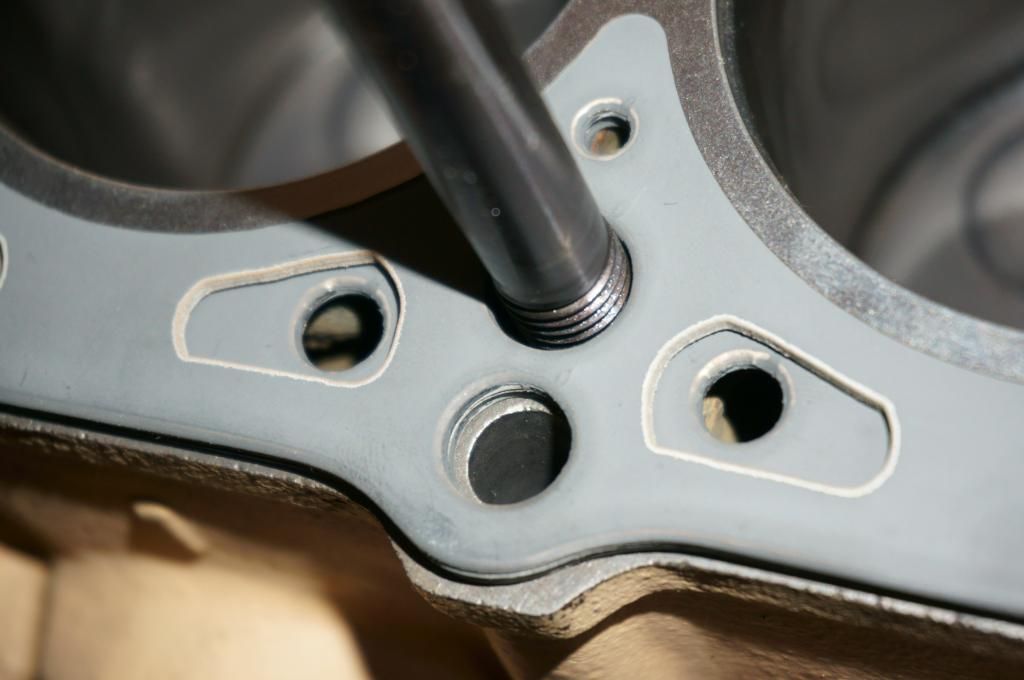 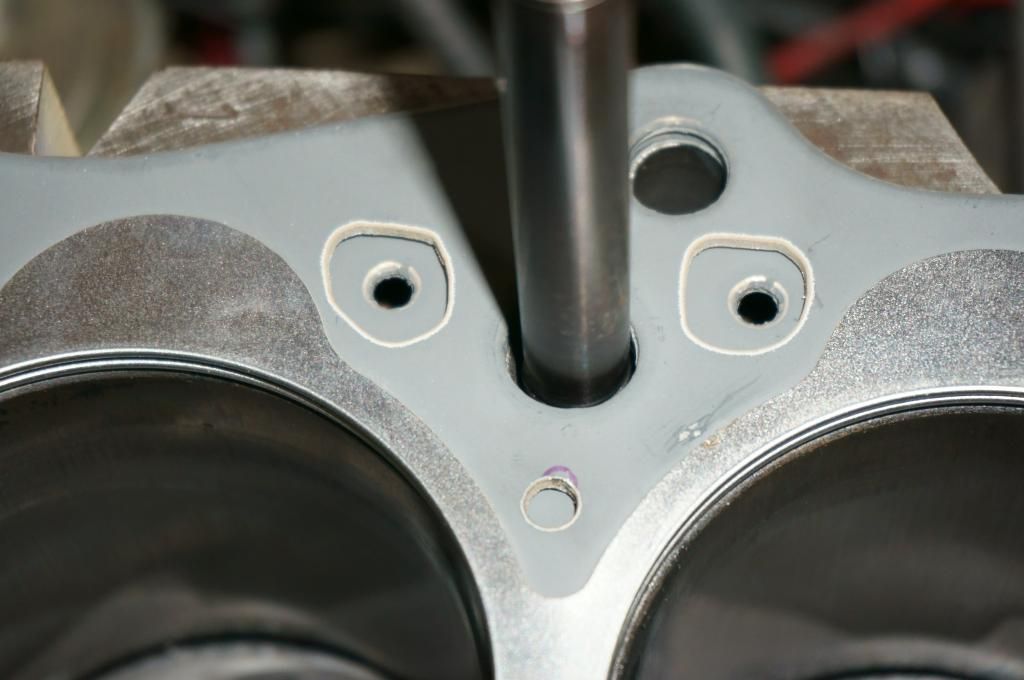 I estimate that I have almost quadrupled the orifice area from a stock gasket. Check out the stock one: 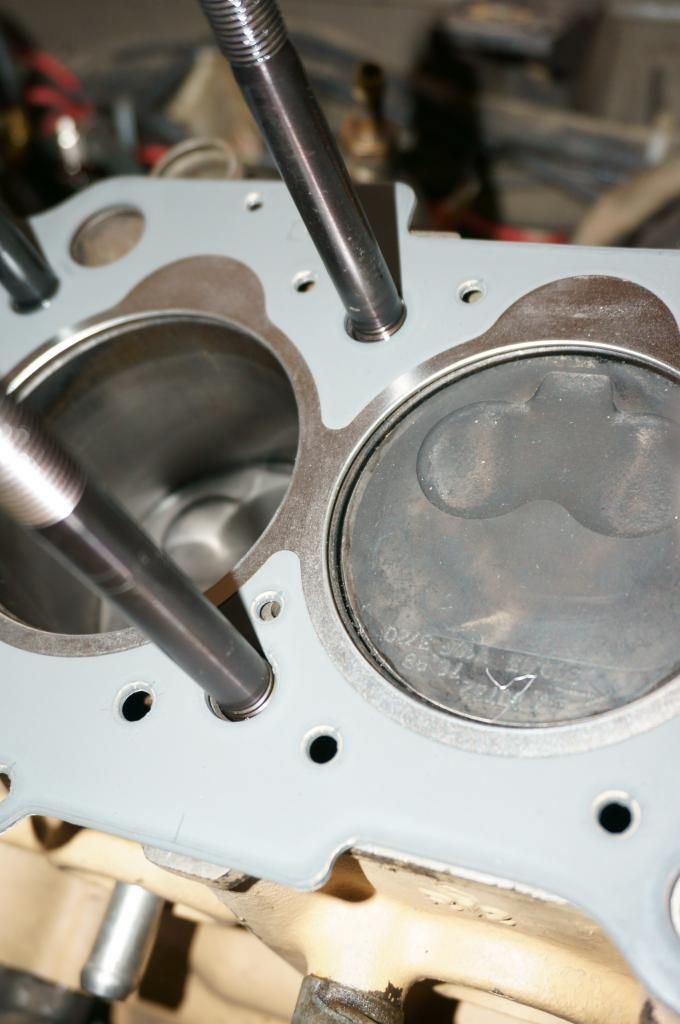 And afterward: 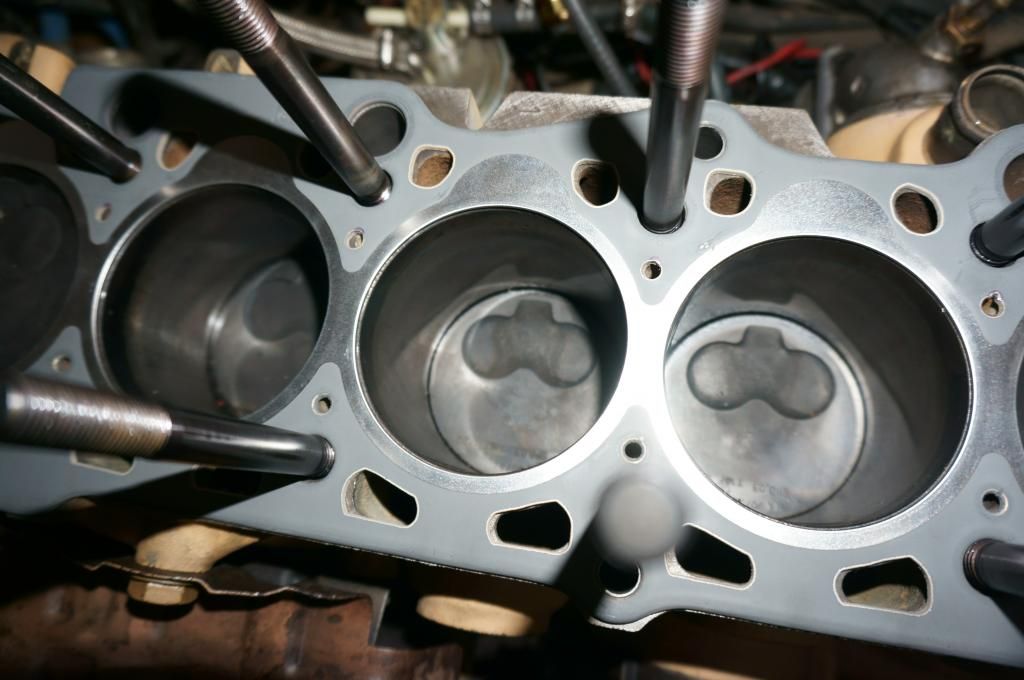 This HAS to help with the heat. I'll keep you all updated. |
|
#2
|
|||
|
|||
|
One of the gaskets I got didn't even have the little steam holes on both sides.
Also, I think your investment in studs just paid itself off. |
|
#3
|
|||
|
|||
|
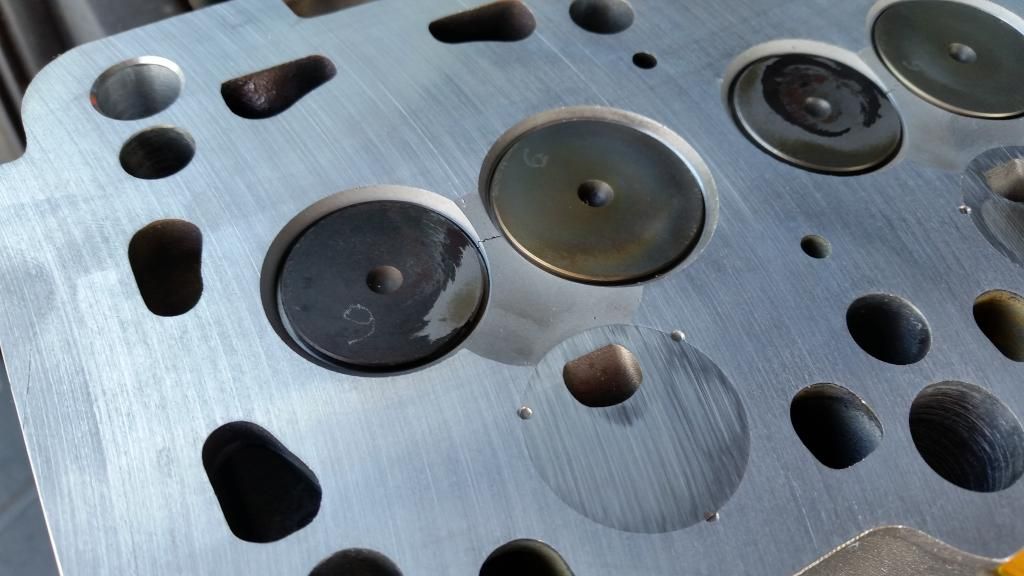
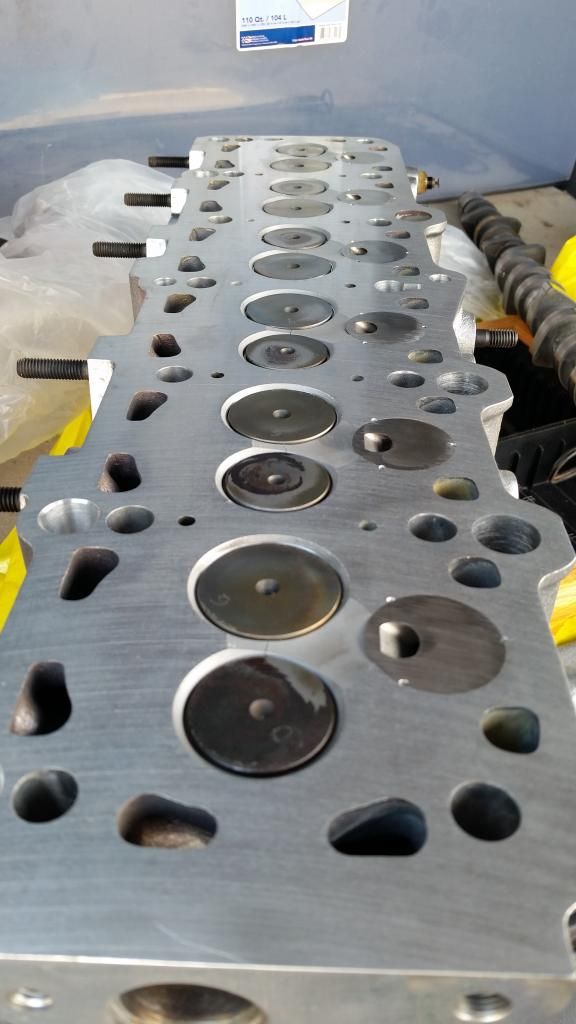
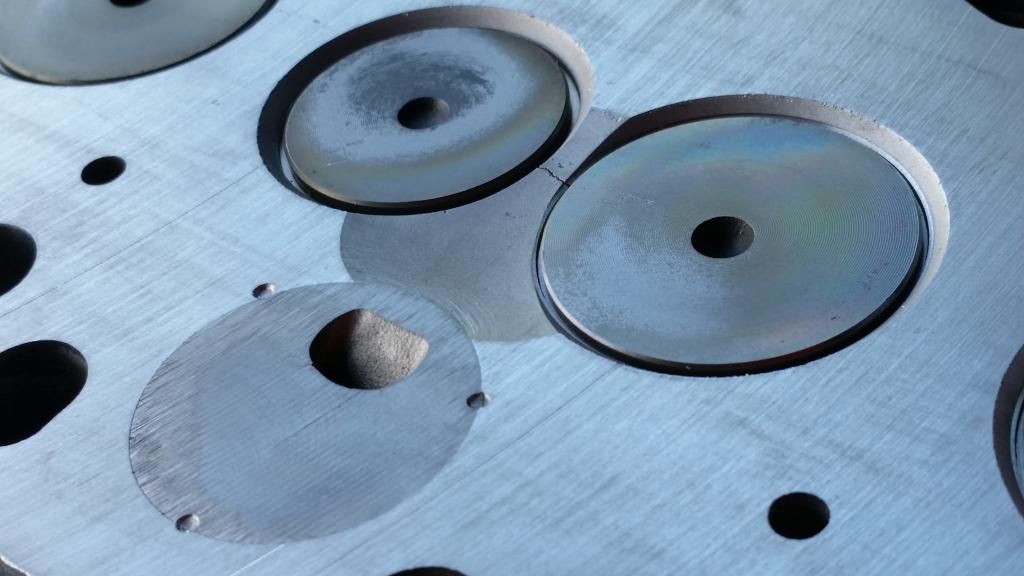
Some pictures on the head.
   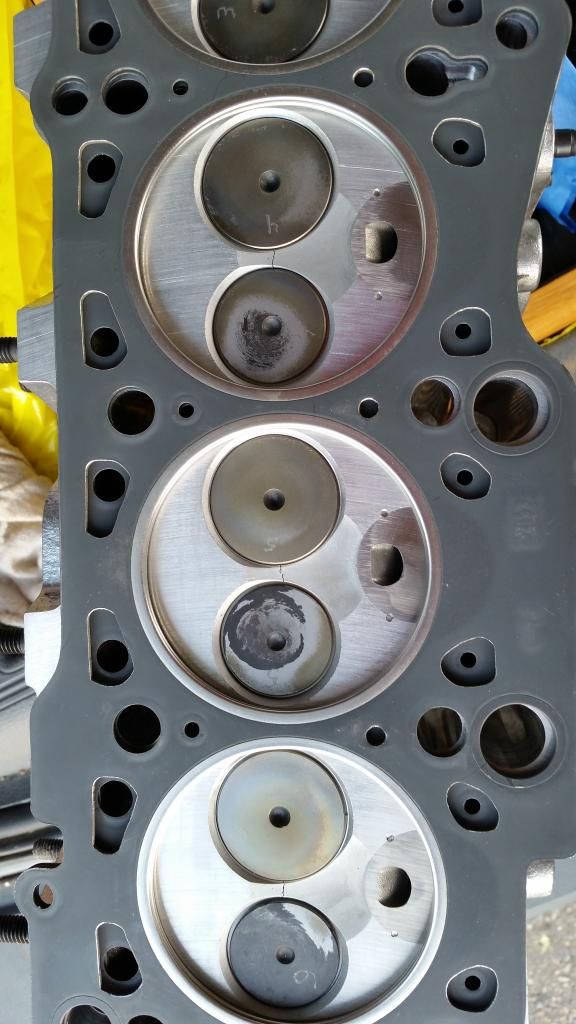 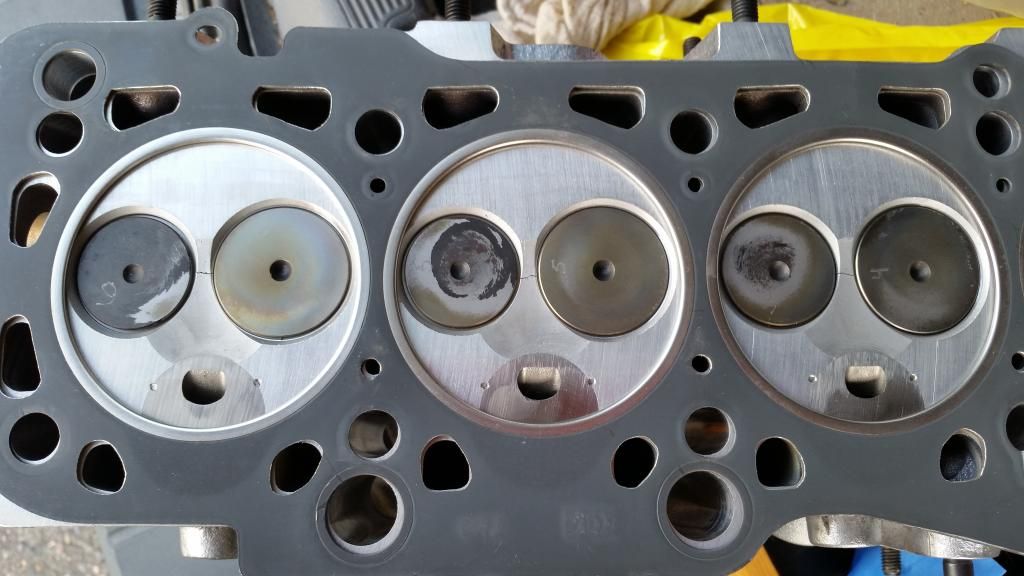 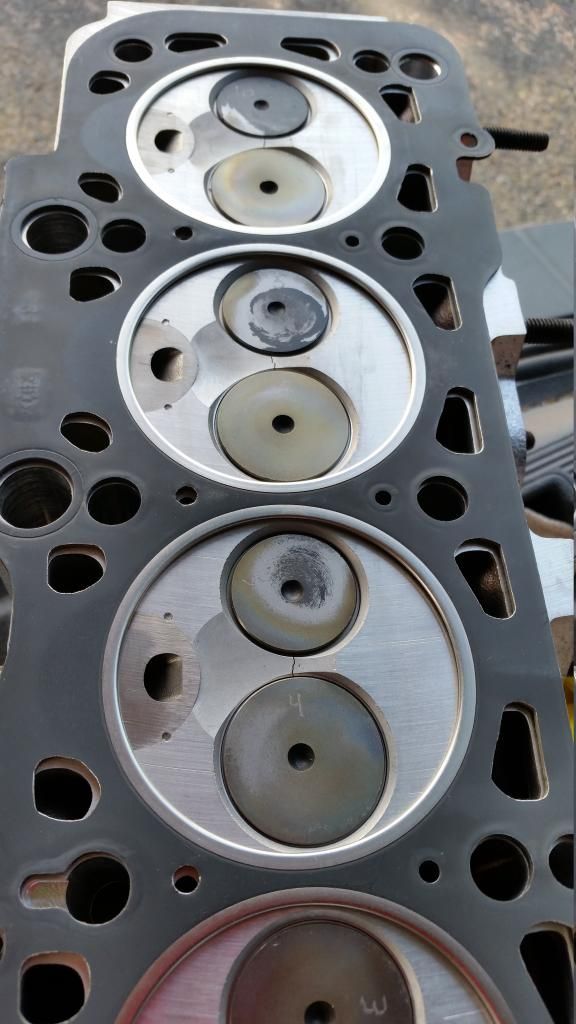 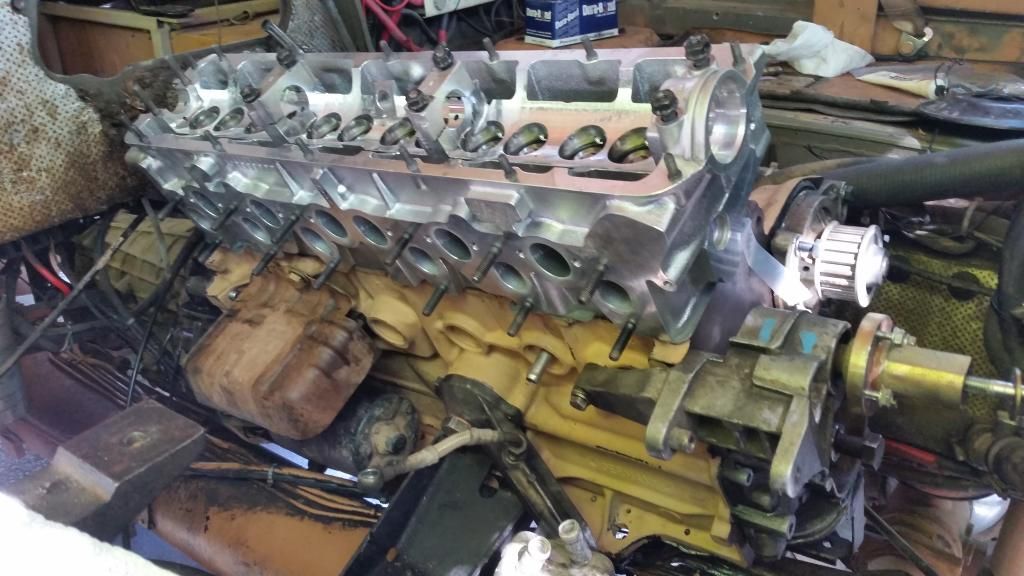
|
|
#4
|
|||
|
|||
|
Hey all,
I just got everything back together and was able to turn the power on. When I apply power the glow plugs stay on. The relays kick on and off with the key. I have only let it stay on for about 10-11 seconds a time, with plenty of time in between. Any thoughts on why the glow plugs wouldn't shut off. I seached here and didn't find anything. Cheers, h. |
|
#5
|
|||
|
|||
|
I'd expect them to run about 30 sec if you have snow around(or if the sensor came unplugged).
Other than that, the relay could be sticking, unmount it and tap it against something, if that fails, knife around the edge and pry the lid off. That surface looks a little rough for an MLS gasket to me. |
|
#6
|
|||
|
|||
|
^this.
Little rough looking for an mls. Cut super smooth almost not at all with these on a really large fly cutter (no small diameter ones or you get a valley) and then final polish on a granite flat table wet gets them actual flat and smooth as a sheet of glass. I've had a couple or these have a warped block. The only guys I've seen complain about mls gaskets (besides subaru guys with the stock ones) have been guys with straight 6 engines. (supra, BMW, and these, mostly, actually). Most of the time, from ones ive sorted out for a couple people, the issue isn't so much the gasket design as torquing many times in small increments, cleanliness, and flatness and roughness of surface. Looking at that gasket compared to a factory one though, the fire rig looks a little different Aldine the Pre chamber. I would think the sealing ring would need to go "around" he Pre-chamber, and some fire/heat proof material would rest under he Pre chamber under light compression to hold it in place, which the Oe gasket looks to do, or am i losing it? The mls is also unforgiving about torque. I find, even wih the SOHC red Volvo motor with the stretch/angle tighten bolts that you have to loosen and repeat and repeat torque the bolts in very small increments several times. The gasket is super hard and the head squishes down on it. I've tightened a couple excellent condition totally straight flat heads and had the center bolts be almost loose again after the outers were tightened. What do people do for torquing procedure for the studs more generally speaking? Stock torque procedure? Same thread pitch? Nuts and spring washers (like TE thick ones on the Volvo turbo exhaust manifold) used? Inquiring minds want to know. I've had to repair a couple '80 diesels with the 11mm bolts and had to buy two sets of expensive, obscure sized quality studs. What a PITA... A good stud kit, gradual torque procedure, a little sealant and perfectly clean flat surfaces would probably put the HG issue to bed...provided you adjust valves and dont overheat it... Do the heads on these crack without an overheat? Ive always wanted to know. I've seen them crack and repaired them, but never owned one since new and watched the temp gauge like a hawk either. I plan to build a tic motor for mine and will tow with it a lot, so it will not be boosted to the sky but I want it to last and don't want it to leave me stranded. Good usable torque/no fuss. Wish they made a bellhousing for the 4 speed auto and 260 slanted motor, don't want to do any custom work for the sump/accessories/engine mounts, prefer the auto. Last edited by Fridgewagon; 12-13-2014 at 05:06 PM. |
|
#7
|
|||
|
|||
|
Hi
Is the Engine running with this Gasket ? I do the Gasket of a Friends D24T, and i also thought, that this "mini-holes" are to small. Now i must do mine, and I´m Planning to edit the Head Gasket too. But i will cut it with a CNC Laser.  Greetings |
|
#8
|
|||
|
|||
|
Sonny, yes! I just got it running this weekend:
https://youtu.be/W86Q2VkQly8?list=UU...aEe8qCmn4bVI8g Does anyone know the thread dimensions of the threaded ports for waste gate on the Garrett T3/4 turbo? I will redo the waste gate lines with some HD stainless hose. r. Last edited by Hecklebone; 03-24-2015 at 07:54 AM. |
|
#9
|
|||
|
|||
|
Ending up changing turbos. Now I have figured out how to fit a Garrett GT3076R and a Tial F38 WG. Ball-bearing, water-cooled.
I am welding up a T3 angle extension to move the turbo away from the engine so it will fit and add the F30 WG above the turbo itself, then dump in after it. Also wrapped the exhaust manifold. Figuring out what angle I need for the T3 extension. About 58° on 5" radius: 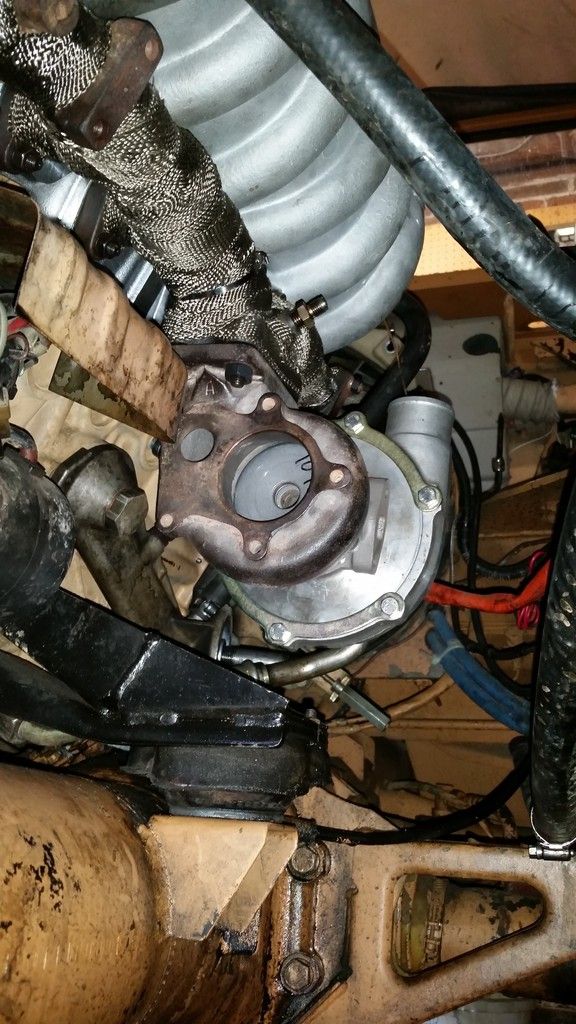
|
|
#10
|
|||
|
|||
|
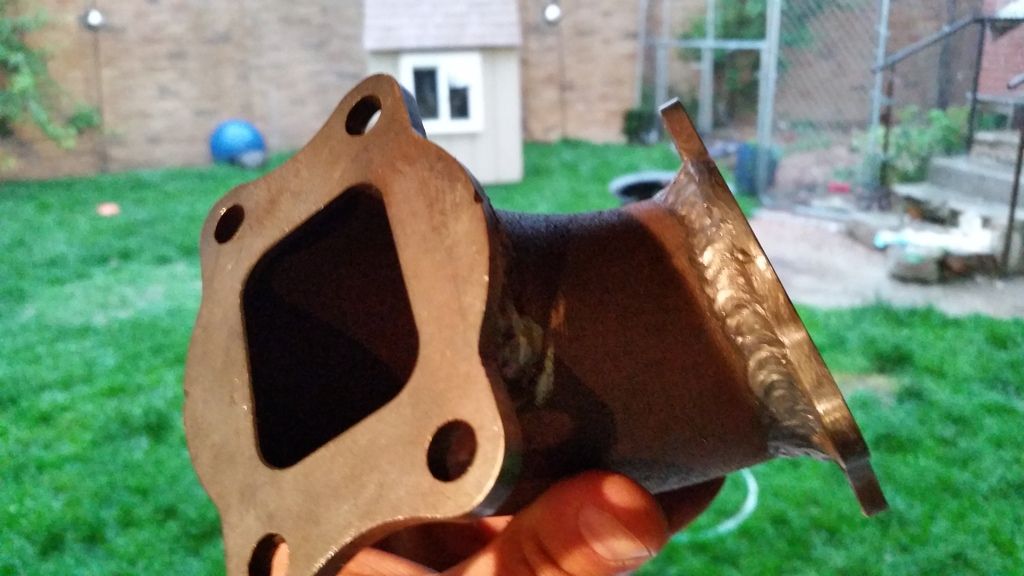
Here is the fitting I welded up for the larger turbo:
 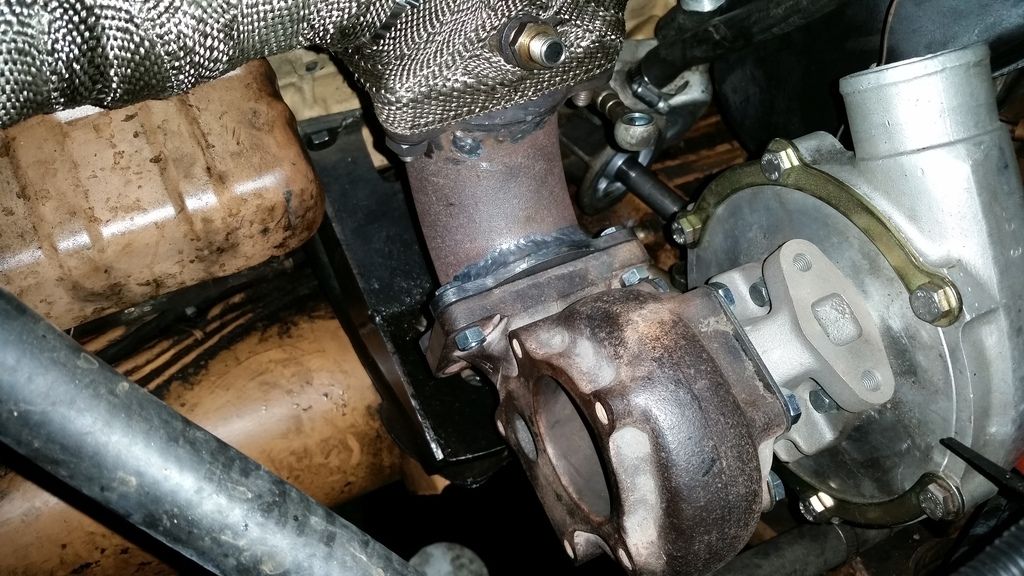 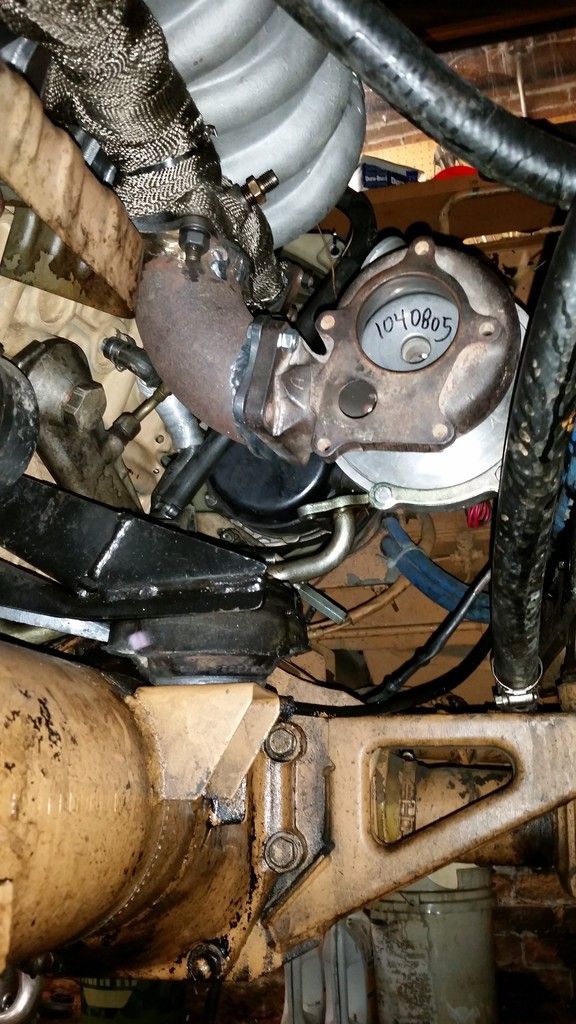 Next up, larger oil cooler, Tial F38 wastegate, fire it up. |
 |
|
|