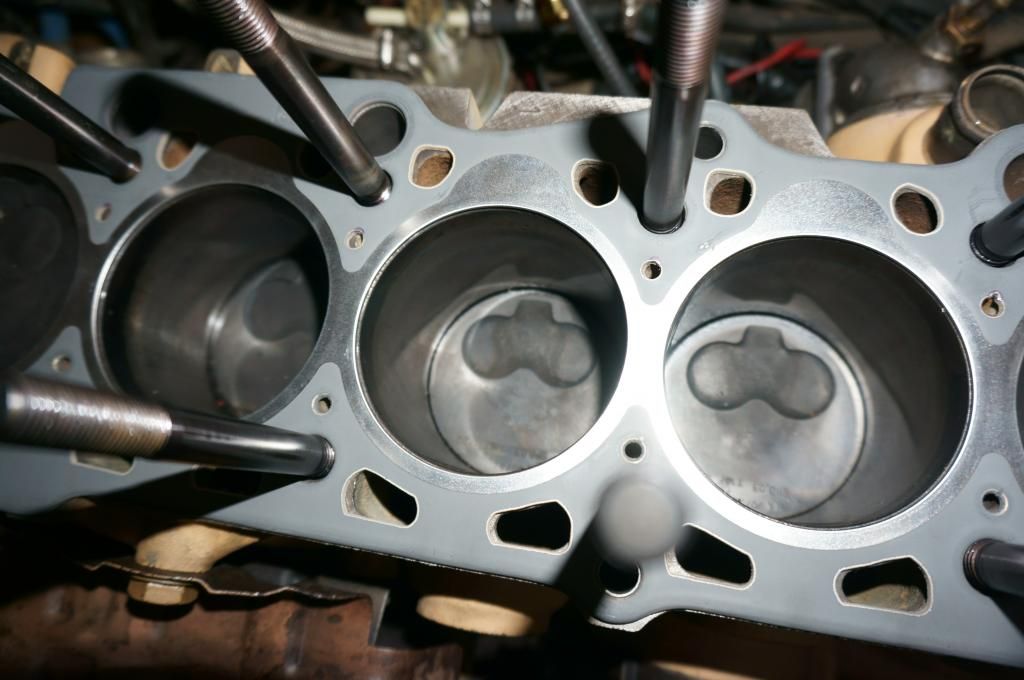
When I disassembled my engine after over heating and blowing the head gasket, I noticed how restrictive the gasket was. I am experimenting with opening up the one hole/notch MLS gasket to flow more coolant.
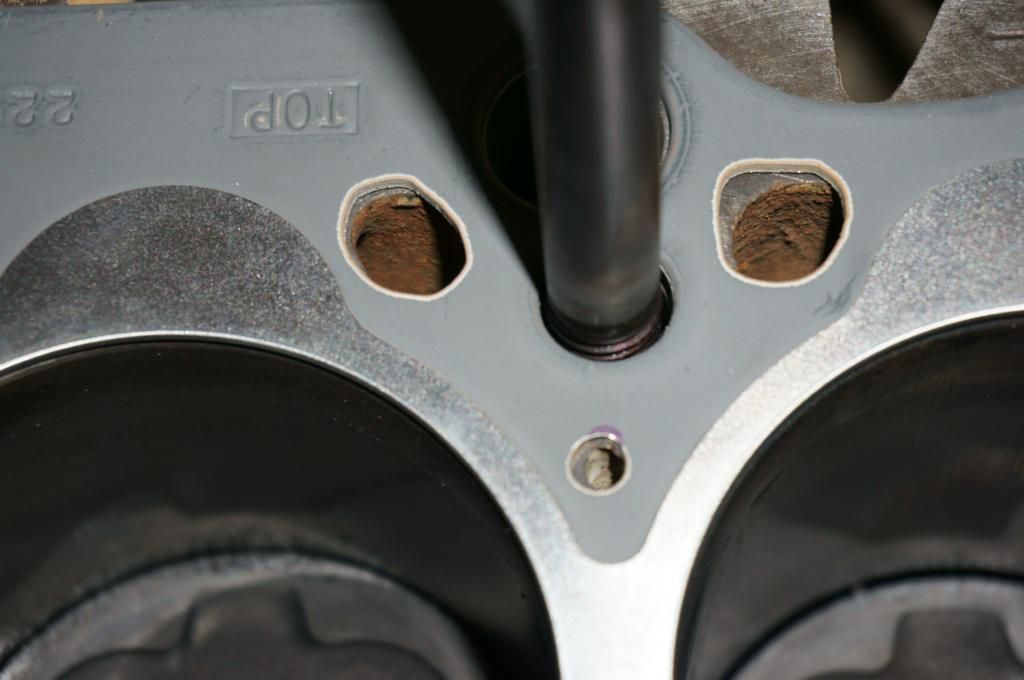
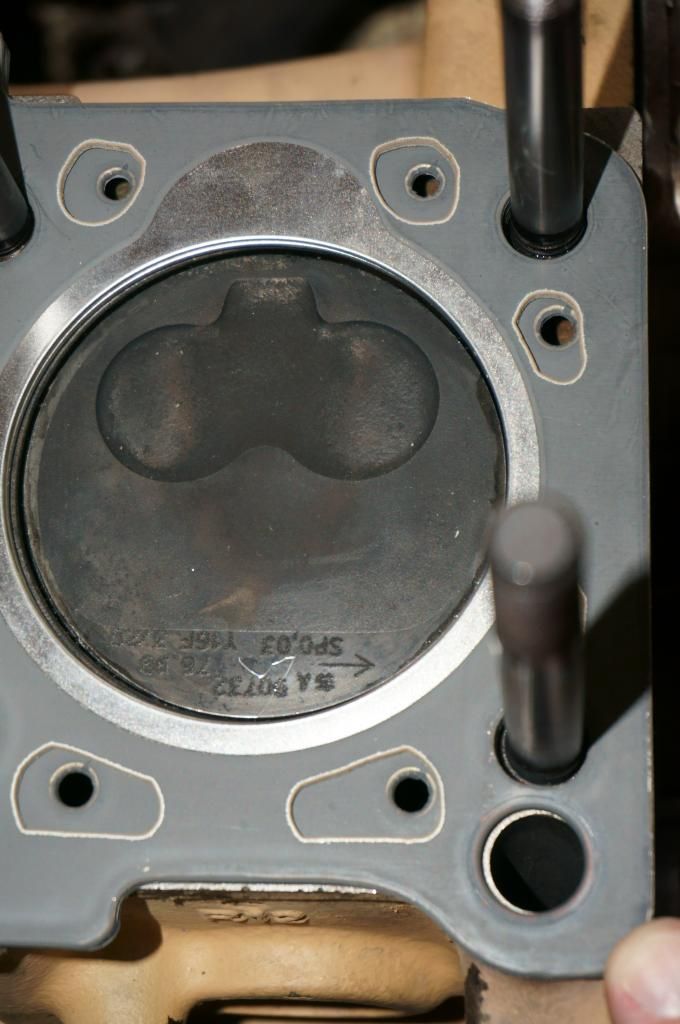
In addition to making the existing holes the same size as the head and block, I added the small holes between the bores on the top side. In the stock gasket these are closed, as in the first photo.
Here is what i did:
- Scan - To capture the imprint of the head and the block on the old gasket, I scanned both sides of it. I could not scan the entire thing in one go, so I had to stitch a few scans together as you can see below.
- Trace - Using Illustrator I traced the coolant orifices on each side.
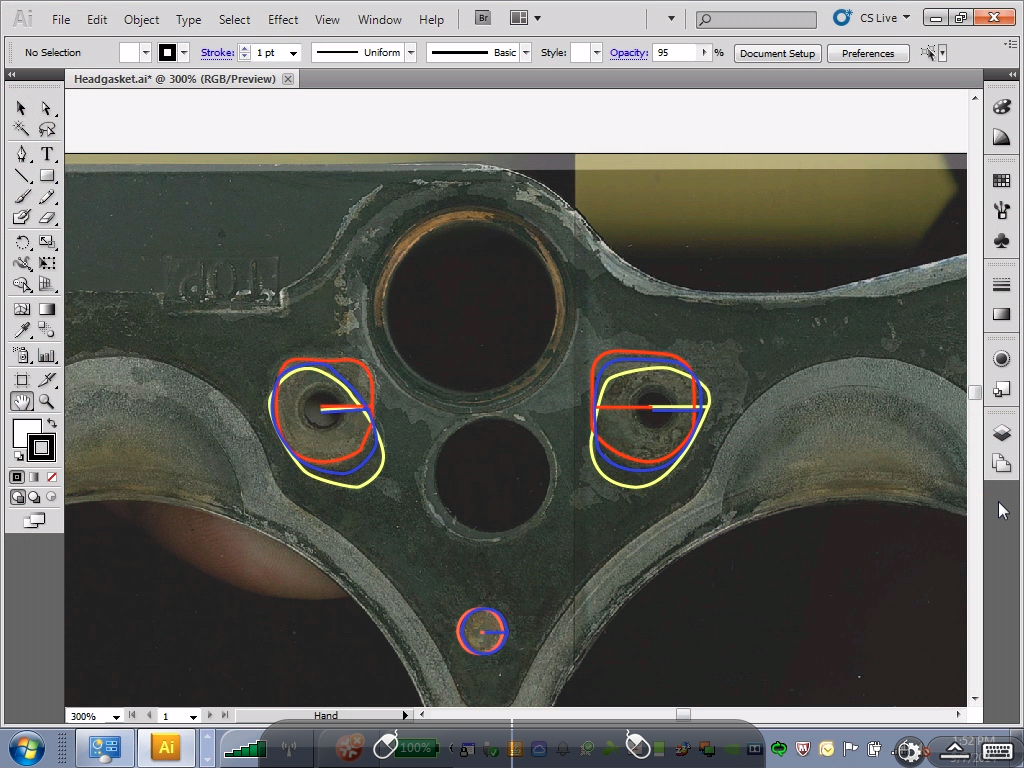
Skip ahead here to how this drawing actually came out.
- Port - Red is top, yellow is the bottom and blue is my own averaging of the two. My idea here is that I don't want a cavity between the surfaces, but a step.
- Cut - I used a local waterjet shop to do the cutting. They practiced on my old MLS gasket and it delaminated a bit. Notice the top and bottom below, perfect on the top, .002" lip on the bottom the I filed off.
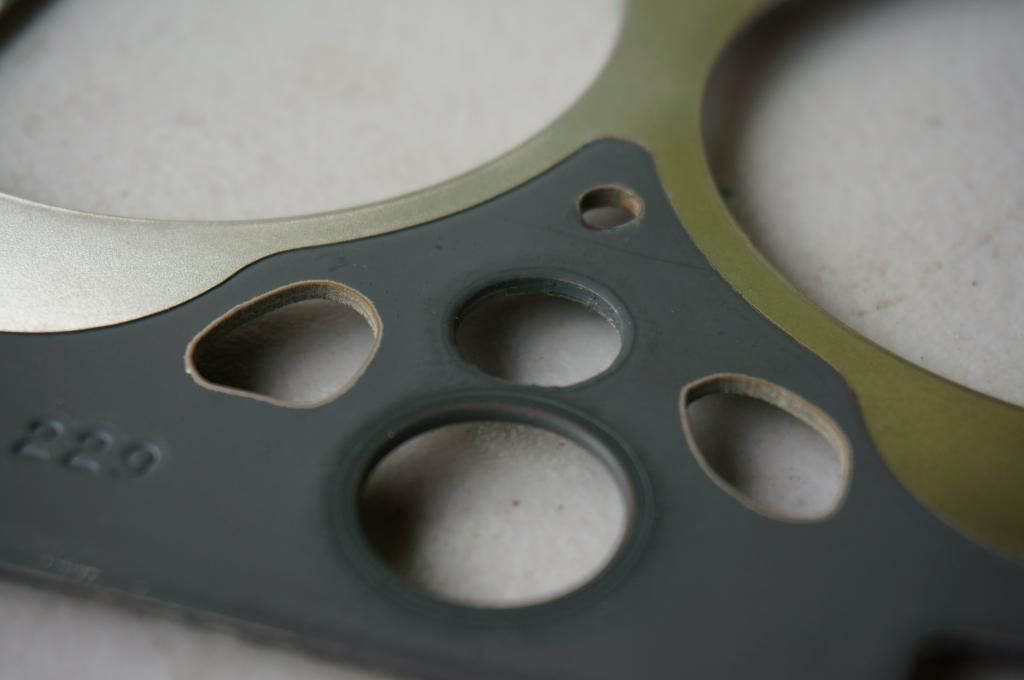
- Chamfer - The water jet cutting sucked a little of the gasket coating off the front and left a small lip protruding underneath. I used a small file to smooth them out.
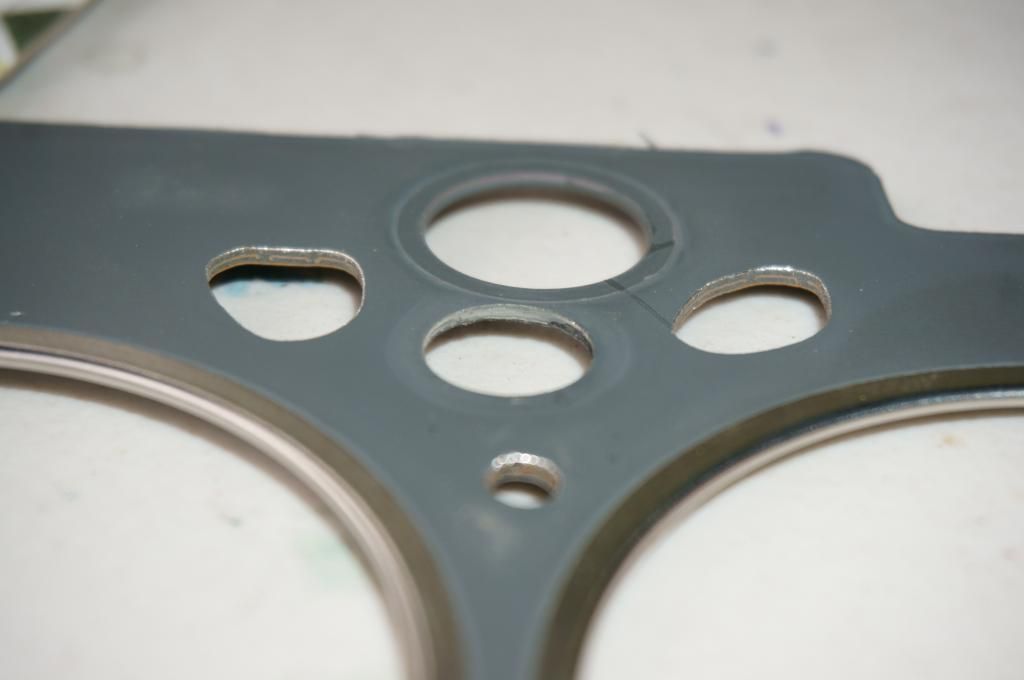
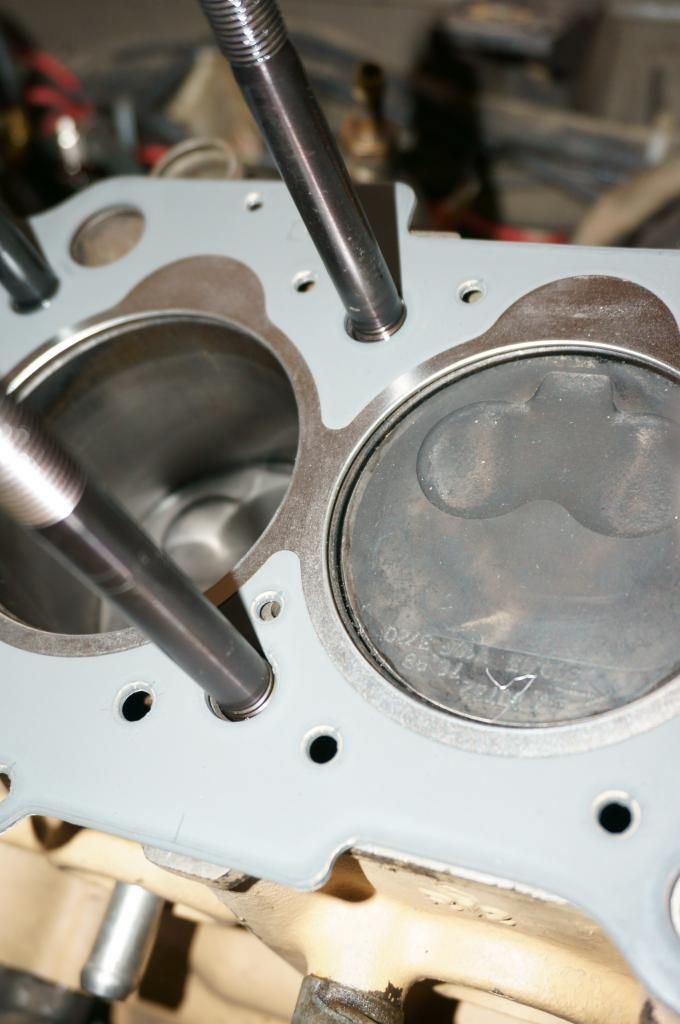
Comparison - Here are photos of an unadulterated gasket under the modified one. You can see there is a huge difference. This modification has opened up the head gasket so that it adds no restriction and has the same opening as the head and block.
I estimate that I have almost quadrupled the orifice area from a stock gasket.
Check out the stock one:
And afterward:
This HAS to help with the heat. I'll keep you all updated.